

Server-level caching can reduce repeated work on a WordPress site, but Redis, Varnish and LiteSpeed do different jobs. Redis stores reusable objects while PHP still runs; a full-page cache can serve a saved public response before WordPress rebuilds it. This guide explains which layer to use, what to ask your managed host and how to check that caching improves delivery without mixing up visitor sessions.
Give your WordPress site NVMe hosting, daily backups for recovery and a 24/7 support team when you need help.
Match the cache to the work you want to avoid. Public page delivery and dynamic database activity need different approaches:
| Layer | What it reuses | Where it can help |
|---|---|---|
| Redis object cache | WordPress objects across requests | Repeated database work, including requests that cannot use a public page cache |
| Varnish page cache | Cacheable HTTP responses in front of the origin | Repeated anonymous requests for public pages |
| LiteSpeed page cache | Responses managed through the compatible server or QUIC.cloud service | Public pages on a supported LSCache setup |
Choose one clearly managed page-cache path first. An object cache may complement it, but stacking independent page caches without coordinated exclusions and purges makes troubleshooting harder. Record any existing CDN or caching plugin before changing settings.

Start with the stack your host actually supports. A WordPress plugin cannot create a Redis service or turn an Apache server into a LiteSpeed server. Ask support which cache is enabled for your domain, who manages its configuration and how to purge or disable it. A cPanel login alone does not establish that Redis, Varnish or LSCache is available.
Make a current backup, confirm how you would restore it and record baseline results for representative pages. Keep a copy of the settings you change. For a store or membership site, include cart, checkout, account and login journeys in your test plan. If hosting controls are unfamiliar, our cPanel hosting guide provides background; your provider’s actual menus take precedence.
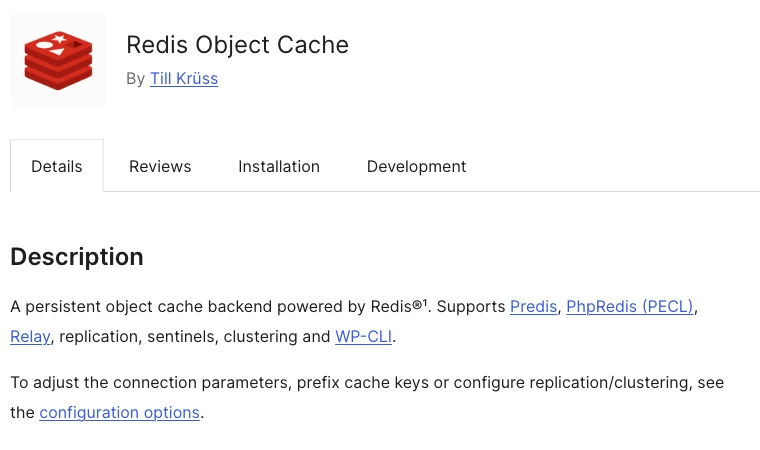
Redis Object Cache connects WordPress to a persistent Redis backend. WordPress’s default object cache lasts only for the current request unless a persistent backend is installed. Reusing objects can reduce repeated database queries, but it does not eliminate PHP execution or guarantee a particular speed improvement.
Follow the project’s installation instructions with the connection details supplied by your host:
wp-config.php, following the host’s instructions. Do not assume that localhost, port 6379 or database 0 is correct for your account.Keep credentials private, and place configuration constants before WordPress loads its settings. Do not overwrite a host-managed configuration or expose a Redis service to the public internet to make the plugin connect. For multiple sites, confirm isolation and the scope of any flush operation with the provider.
If WP-CLI and the plugin’s command integration are available, run this read-only check from the correct WordPress installation:
wp redis status
A connected status verifies the connection, not a performance gain. Compare the same dynamic pages before and after activation, then check the admin area and application behavior. A low hit rate on an empty cache is different from persistent connection errors.
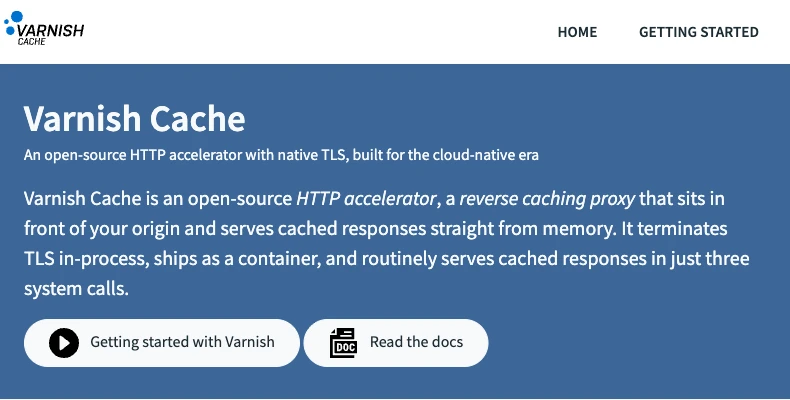
Varnish Cache is a reverse caching proxy: it can answer a cacheable request from a stored response and forward other requests to the origin. It suits public pages requested repeatedly by anonymous visitors. The screenshot shows the project’s public website, not a SiteValley performance test.
On managed hosting, have the provider confirm the proxy route, cache policy and supported purge mechanism. The VCL configuration may be outside your hosting account; an ordinary File Manager session does not imply permission to edit or reload it.
The policy must distinguish public content from private or changing state. Ask how it handles request methods, authorization, session cookies, responses that set cookies, cache-control directives and your application’s excluded paths. For WooCommerce, the official caching guidance calls out cart, checkout and account pages, along with cart and session cookies. Custom membership, booking or account routes need their own review.
A short VCL snippet is not a complete WordPress caching policy. Varnish’s built-in VCL documentation explains that returning from custom code can skip default handling. Avoid copying an unconditional cache decision or overriding every response with the same TTL. Have the responsible administrator test the complete configuration, including bypass behavior and rollback, before enabling it for visitors.

LiteSpeed Cache for WordPress includes both page-cache integration and optimization features. According to its beginner’s guide, page caching needs a compatible cache-enabled server or QUIC.cloud. Installing the plugin alone is not proof that server-level caching works.
Do not enable Edge Side Includes (ESI) as a universal requirement. The cache settings documentation describes it as a way to assemble separately cached fragments on supported platforms; OpenLiteSpeed does not support ESI. Use it only when the application needs it and your provider supports the configuration.
Redis object caching is a separate decision even when LSCache exposes object-cache settings. Confirm the backend and choose one supported object-cache integration. Add CSS, JavaScript or image optimizations separately so that an unexpected layout or checkout problem can be traced to one change.
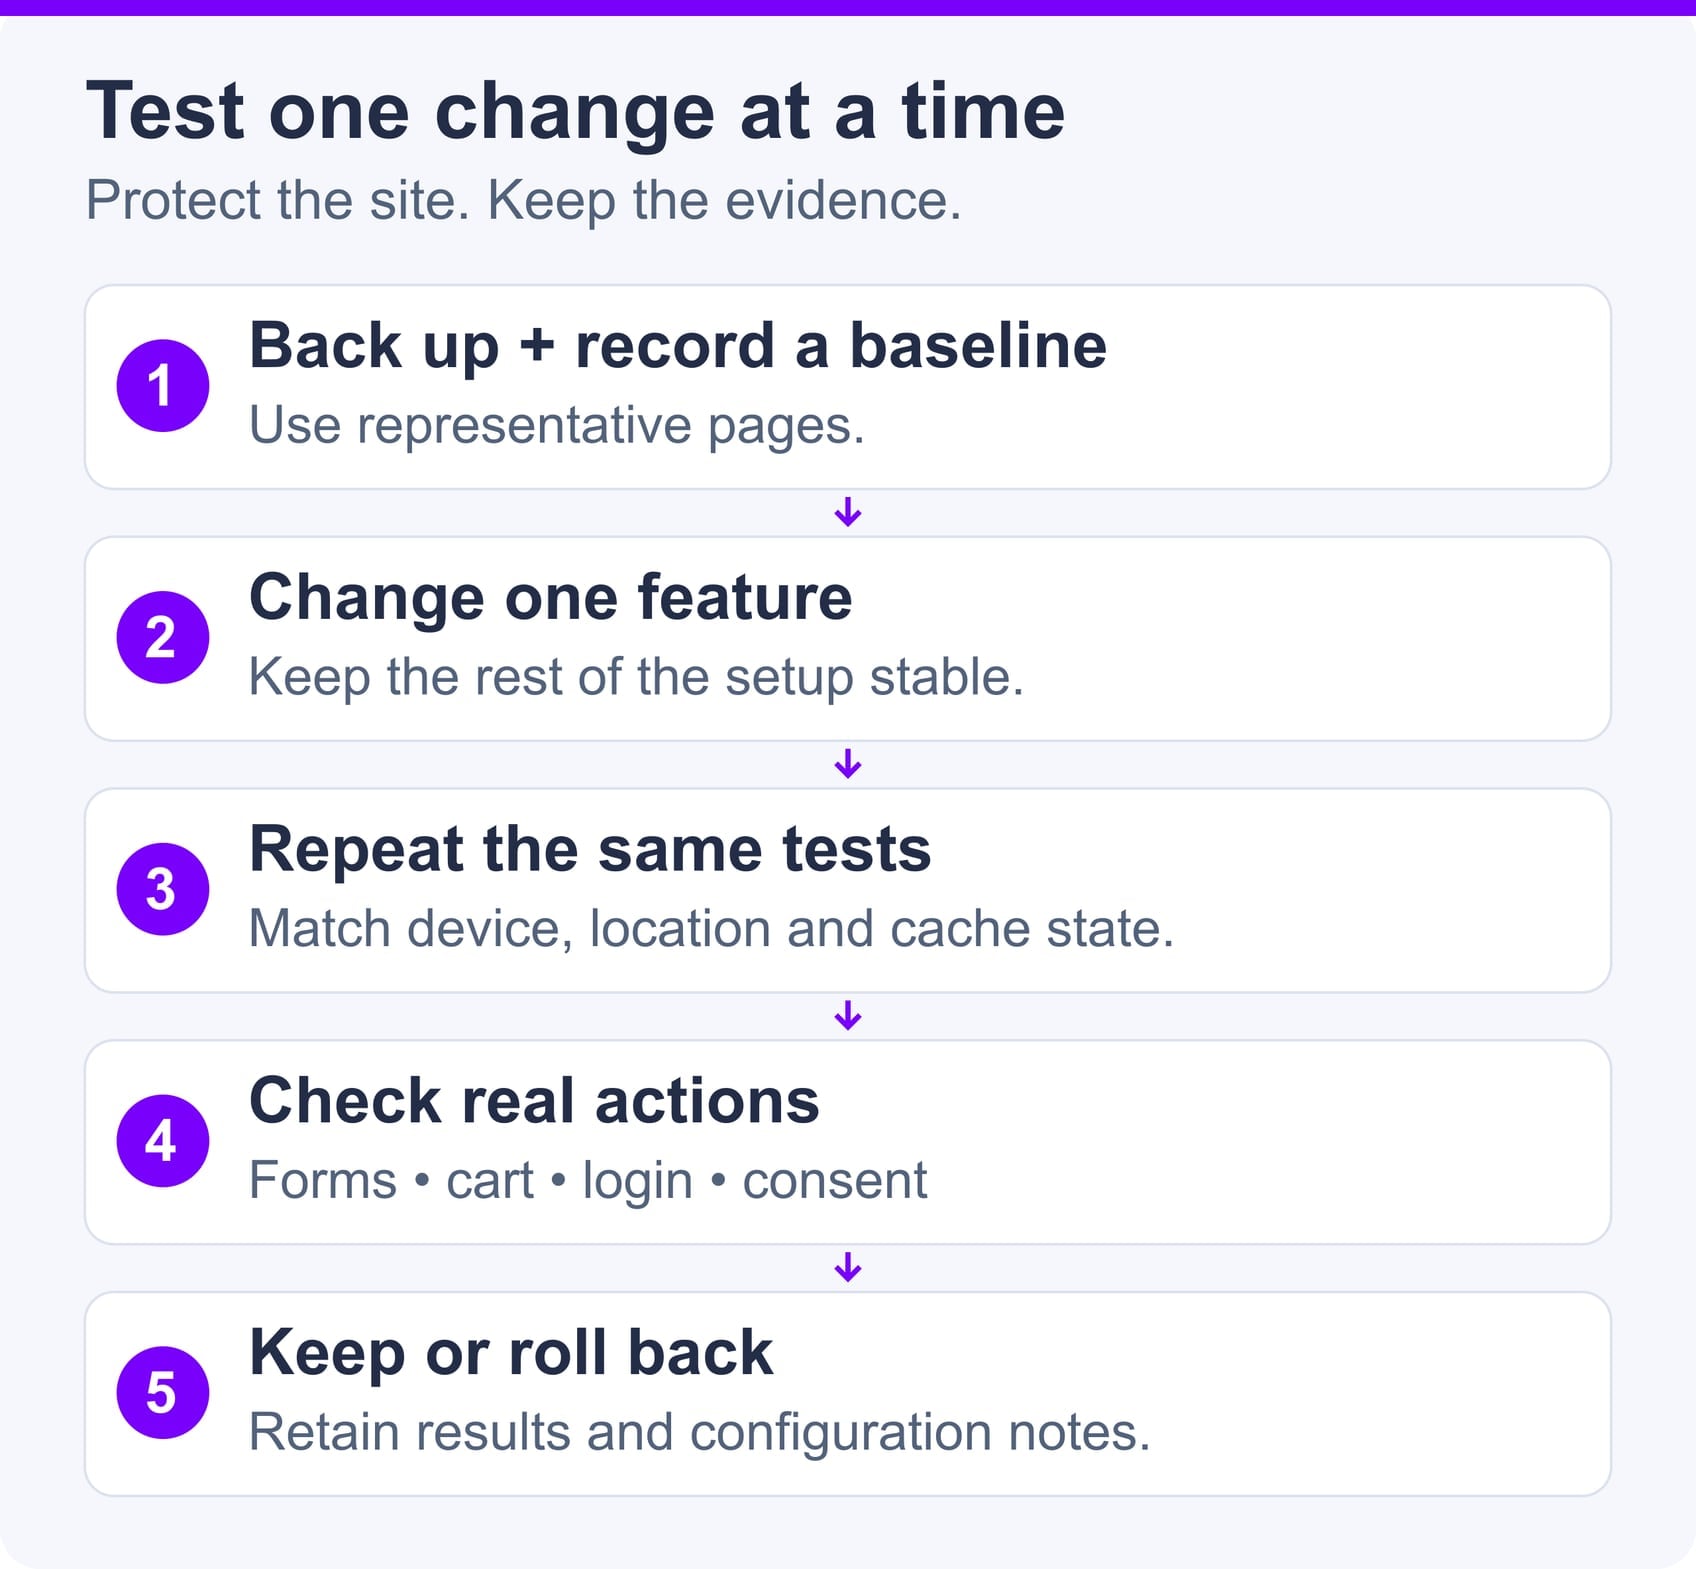
Begin with a public page in a fresh private browser session. In Developer Tools, open Network, select the main HTML document and examine its response headers. Repeat the request after the first response has had a chance to populate the cache.
LiteSpeed’s verification instructions describe X-LiteSpeed-Cache hit and miss responses. Varnish installations may expose an Age header or a host-defined cache-status header; X-Cache is not guaranteed. Ask the host which signal identifies the layer you are testing. A CDN hit does not by itself prove an origin cache hit.
For a public URL you control, this GET request displays the response headers while discarding the body. Replace the example URL and repeat the command; unlike a HEAD-only test, it requests the page itself.
curl --silent --show-error --dump-header - --output /dev/null 'https://example.com/public-page/'
Do not stop at a public cache hit. Check separate sessions and the actions that make your site useful:
| Check | Expected result |
|---|---|
| Anonymous public page | Current public content; the supported cache can warm and return a hit |
| Logged-in account or admin | Correct user identity and private content; no shared public response |
| Cart and checkout | Correct items, totals and customer state throughout the journey |
| Forms and consent choices | Submissions and choices work without stale tokens or another session’s state |
| Edited public page | The supported purge makes the new version visible |
Compare several runs under the same test location, connection, page and browser conditions. Record cold and warm results separately, along with TTFB and the user-visible loading behavior. Report measured results from your own site; there is no universal millisecond saving to assume. Caching cannot fix every slow database query, remote API call or oversized image. Our guide to how web hosting works explains the wider request path.
When an edit appears stale, identify which layer holds the old response before clearing everything. Use the provider’s documented controls and prefer a specific page or domain purge when available. Clearing a shared cache broadly can affect other sites and force expensive rebuilds.
| What appears stale? | First place to investigate |
|---|---|
| Public HTML after an edit | The active page cache and its WordPress purge integration; check an upstream CDN too |
| Objects after a configuration change | The supported object-cache integration; confirm the site’s flush scope before using it |
| CSS, scripts or images | Generated optimization files, browser caching and any CDN asset cache |
For LSCache, the administration documentation explains its cache-management controls. Use the narrowest appropriate action for the change. For managed Varnish, use the host’s authorized purge integration rather than assuming administrative shell commands are available.
After purging, confirm that the changed page is current and that subsequent public requests can warm the cache again. Recheck account and checkout behavior after policy changes. Keep a simple record of the setting, test result and rollback path: a cache is useful only while it serves the right content to the right visitor.
Do I need Redis, Varnish and LiteSpeed at the same time?
I installed LiteSpeed Cache. Why is page caching still inactive?
Can caching show one customer's cart or account to someone else?
Why do visitors still see an old page after I edit it?
My test shows a cache hit. Why does the page still feel slow?
What should I ask my host before changing cache settings?
Related service: Web hosting plans

Quick Customer care response, accurate and broad assistance, easy to use client area.....
I am very happy with the service. I am with site valley for many years and at the present usimg 2 hosting packages. Their service is excellent and super fast. Thanks & Greatly Appreciated
I've been hosting my websites with Sitevalley for more than 6 years. Very satisfied with the services and reliability they provide, competitive prices, almost no downtime, fast and knowledgeable customer support.
I have been using side valley for a couple of years now and have to say I am very happy with the service they offer.I use many Hosting services but site valley stands out in front. Reliable service, great support.I don't normally leave reviews but felt I wanted to for this service as it has been fantastic
I didn't want to review so soon on into taking out hosting with site valley but I feel obliged because their customer service is outstanding, second to none, every time I had an issue it was sorted immediately. I would highly recommend Site Valley.
I have been with Sitevalley for over a year and it's the best hosting I have EVER used. And I have been through a lot of them.
The support staff are amazing, and it's clear that they have a passion for hosting websites. I've rather enjoyed this webhosting company and it's stability for the price is bar-none, amazing.
My collegue adviced me to use SiteValley as a reliable hosting provider with great prices, professional and fast Customer Service. My experience with SiteValley was exactly the way I was promised.
I have been with SiteValley for many years, and plan to stay with them for many more. Customer support is very responsive and knowledgeable.
SiteValley.com is rated 4.8 / 5 based on 329 Reviews »

© 2001 – 2026 SiteValley.com. All Rights Reserved.
