The right VPS plan makes a significant difference between a smooth-running WordPress site and one that struggles under load. For many site owners, opting for a KVM VPS with dedicated CPU and RAM is a better choice than a crowded shared environment. KVM ensures that your allocated resources remain yours, providing steady performance when WordPress, PHP, MySQL, and plugins all demand memory. For more detailed information, refer to our Cloud VPS hosting guide.

Choose your VPS configuration based on workload rather than price. Each VPS configuration offers its specific benefits:
• 1 vCPU, 2 GB RAM, 20 GB NVMe
This setup is ideal for a lightweight theme, a few plugins, modest traffic, and mostly cached pages. It aligns perfectly with the SiteValley KVM1 plan, offering a cost-effective option for bloggers who don’t expect heavy dynamic content delivery. If you’re comparing options, take a look at our Shared Server vs VPS: Which Hosting is Right for You? article.
• 2 vCPU, 4 GB RAM, 40 GB NVMe
This configuration is perfect if you’re running page builders, forms, analytics scripts, or expect occasional traffic surges. It provides the extra headroom needed for growing visitor numbers and more dynamic content. This mirrors the SiteValley KVM2 offering, designed to handle a moderate increase in workload.
• 4 vCPU, 8 GB RAM, 80 GB NVMe
For online stores with product search, cart sessions, and checkout pages generating numerous dynamic requests, having dedicated CPU and RAM is crucial. This configuration – equivalent to the SiteValley KVM4 plan – is built to prevent slowdowns during peak demand.
Beyond CPU and RAM, storage plays an important role in speed. NVMe storage outpaces older SATA SSD performance during database operations, enhancing the responsiveness of WordPress tasks such as media uploads, backups, and plugin updates. If you compare plans with similar CPU and RAM, opt for NVMe. Bandwidth needs also vary—a small site can run on 1 TB/month, while media-rich sites might require 2 TB or more to avoid limits.
Using AlmaLinux as your operating system is a practical choice when paired with cPanel because of its reliable support in hosting environments. Additionally, select a data-center region closest to your primary audience to minimize latency—for instance, a US-based server is best if your visitors primarily reside in the US.
For content-based sites, starting with a 2 vCPU, 4 GB RAM configuration is often sufficient. However, for WooCommerce or other dynamic sites, avoid entry-level plans that might slow down crucial checkout flows.
After deciding on the VPS size, order a server with cPanel/WHM pre-installed for immediate use. Log into the client area, navigate to Services → Order New Services → Cloud VPS, and choose your billing cycle, server location, and VPS size. In the Operating System / Template section, select an image featuring AlmaLinux + cPanel/WHM. This preconfigured image includes the cPanel license option and eliminates the need for a manual control-panel installation via SSH.
During setup, configure a strong root password (at least 16 characters) and, if available, use a clean hostname like `server1.yourdomain.com`. After placing your order, wait for the confirmation email containing the server IP, WHM login URL, and root credentials. Once you log in at a URL such as `https://SERVER-IP:2087`, you can proceed with the setup. Midway through this process, note that SiteValley Cloud VPS Hosting plans offer KVM isolation with dedicated resources starting at $9.99/month and are available in regions including Los Angeles, Atlanta, Amsterdam, and Frankfurt. For more details, visit the Cloud VPS Hosting pricing page.
Before deploying WordPress, ensure your domain resolves efficiently. Anycast DNS directs visitors to the nearest DNS edge, keeping lookup times low globally. Start by updating your nameservers at your domain registrar with those provided by your hosting provider. Once DNS propagation is complete, verify the main A record in cPanel → Domains → Zone Editor to ensure it points to your VPS’s IPv4 address.
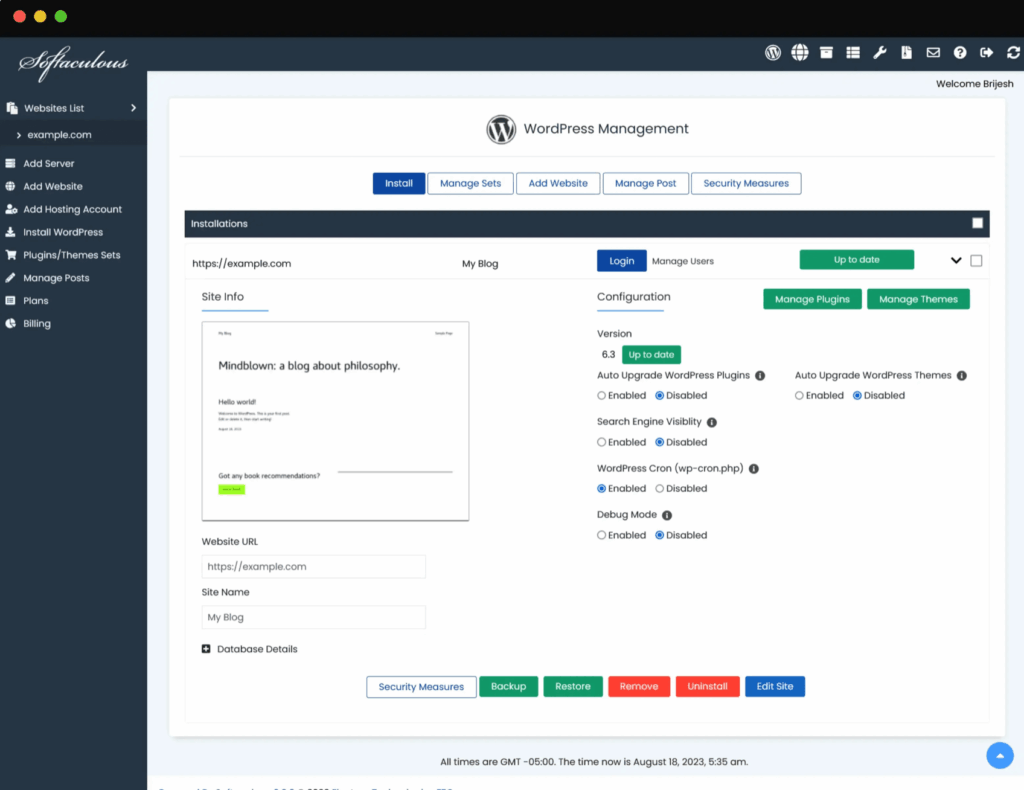
After DNS is set, the quickest way to launch your site is via Softaculous, the one-click installer in cPanel. Within Home → Software → Softaculous Apps Installer → WordPress, click Install Now and fill out the required information:
After installation, verify that both the public site URL and the admin login URL (typically ending in `/wp-admin`) function correctly.
Installing a caching plugin can help reduce page generation time by serving stored HTML versions of pages. Good caching may lower your TTFB (Time To First Byte) from 500–900 ms to 200–300 ms. In WP Admin → Plugins → Add New, search for a plugin that supports both page and object caching, and then:
Ensure the caching plugin has permission to write to its cache folder for optimal performance.
While caching minimizes server load, a CDN (Content Delivery Network) accelerates the loading of static assets like images, CSS, and JavaScript files for visitors farther from your VPS. Third-party services such as Cloudflare can route traffic via the nearest data center, reducing the load times for static assets. After configuring your DNS for CDN usage, verify that SSL is set to Full (strict) to maintain end-to-end encryption.
Maintaining regular backups and robust security measures is essential. Within WordPress, use a backup plugin that supports scheduled remote backups (e.g., to Amazon S3 or via FTP/SFTP). Schedule daily backups for both files and databases, and retain at least 7 to 14 restore points depending on your site’s update frequency.
At the server level, verify security settings through cPanel packages like Imunify360, which defends against brute-force attacks and other threats. Also, run AutoSSL in cPanel to install trusted certificates, ensuring secure connections for visitors.
After deployment, it’s important to confirm that your migration was successful. Use tools like PageSpeed Insights or GTmetrix to check performance metrics such as LCP (Largest Contentful Paint) and TTFB. Additionally, examine server resource usage in cPanel’s Metrics → Resource Usage section. When both front-end performance tests and server metrics validate improved performance, you can be confident that your VPS setup is optimized for your WordPress site.
What is a KVM VPS and why is it important for WordPress?
Why should I choose NVMe storage over SATA SSD for my VPS?
How does caching improve my site's performance on a VPS?
What role does Anycast DNS play in global performance?
How do daily backups secure my VPS environment?

Quick Customer care response, accurate and broad assistance, easy to use client area.....
I am very happy with the service. I am with site valley for many years and at the present usimg 2 hosting packages. Their service is excellent and super fast. Thanks & Greatly Appreciated
I've been hosting my websites with Sitevalley for more than 6 years. Very satisfied with the services and reliability they provide, competitive prices, almost no downtime, fast and knowledgeable customer support.
I have been using side valley for a couple of years now and have to say I am very happy with the service they offer.I use many Hosting services but site valley stands out in front. Reliable service, great support.I don't normally leave reviews but felt I wanted to for this service as it has been fantastic
I didn't want to review so soon on into taking out hosting with site valley but I feel obliged because their customer service is outstanding, second to none, every time I had an issue it was sorted immediately. I would highly recommend Site Valley.
I have been with Sitevalley for over a year and it's the best hosting I have EVER used. And I have been through a lot of them.
The support staff are amazing, and it's clear that they have a passion for hosting websites. I've rather enjoyed this webhosting company and it's stability for the price is bar-none, amazing.
My collegue adviced me to use SiteValley as a reliable hosting provider with great prices, professional and fast Customer Service. My experience with SiteValley was exactly the way I was promised.
I have been with SiteValley for many years, and plan to stay with them for many more. Customer support is very responsive and knowledgeable.
SiteValley.com is rated 4.8 / 5 based on 329 Reviews »

© 2001 – 2026 SiteValley.com. All Rights Reserved.
